|
Northern
Eclipse Help Reference |
|
This tool is used to overlay a black or white radial grid over the current image. You can move the origin of the grid by clicking on the image with the mouse.
This tool is used when you need to subdivide a circular object into sections in order to measure the individual sections. With enough sections, you can use the orientation of each section as an average thickness value for that section. Whenever a single pixel wide line separates two objects, the 4-way boundary rule must be used to measure them (located on the Data Options page of the Northern Eclipse Options Dialog).
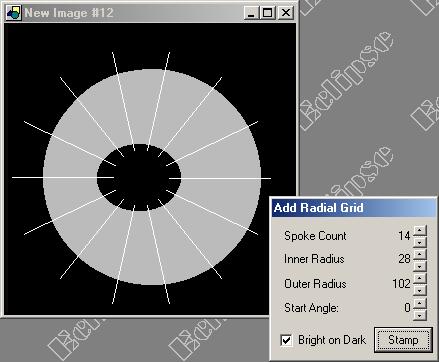
The “Spoke Count” determines how many spokes will subdivide the complete circle. The “Inner Radius” and “Outer Radius” settings work together to define the start and end points of each spoke. The outer radius is in addition to the inner radius. The “Start angle” setting allows you to turn the entire grid around the origin. The “Bright on Dark” setting allows you to choose between a white and black grid.
The grid remains as an overlay on the image even if you select another tool. Once you are done with the grid overlay, you can remove it by using the Remove Last Selection or Remove All Selection functions. You can stamp the grid into the image by selecting the “Stamp” button. The grid will then become part of the image and the overlay is removed. Alternately, you can use the Duplicate Display function to stamp all overlays into the image.
|
See Also |
Add Concentric Grid, Add Line Grid, Add Curve Grid,
Add Grid |
|
References |
Table of Contents |